After months of tending—planting, hilling, and keeping pests at bay—your potato plants are finally ready to reward you. The leaves have yellowed, the stems are withering, and beneath that soil lies your homegrown treasure. But harvesting potatoes isn’t just about yanking them out of the ground. Do it right, and you’ll enjoy months of flavorful spuds. Do it wrong, and you might end up with bruised, rotting, or even accidentally replanted potatoes next spring.
How to Harvest Without the Heartbreak
Containers & Grow Bags:
If you’ve grown potatoes in pots or fabric bags, harvesting is a breeze. Tip the container onto a tarp or into a wheelbarrow, then sift through the soil with your hands. No digging required—just gently separate the tubers from the dirt.
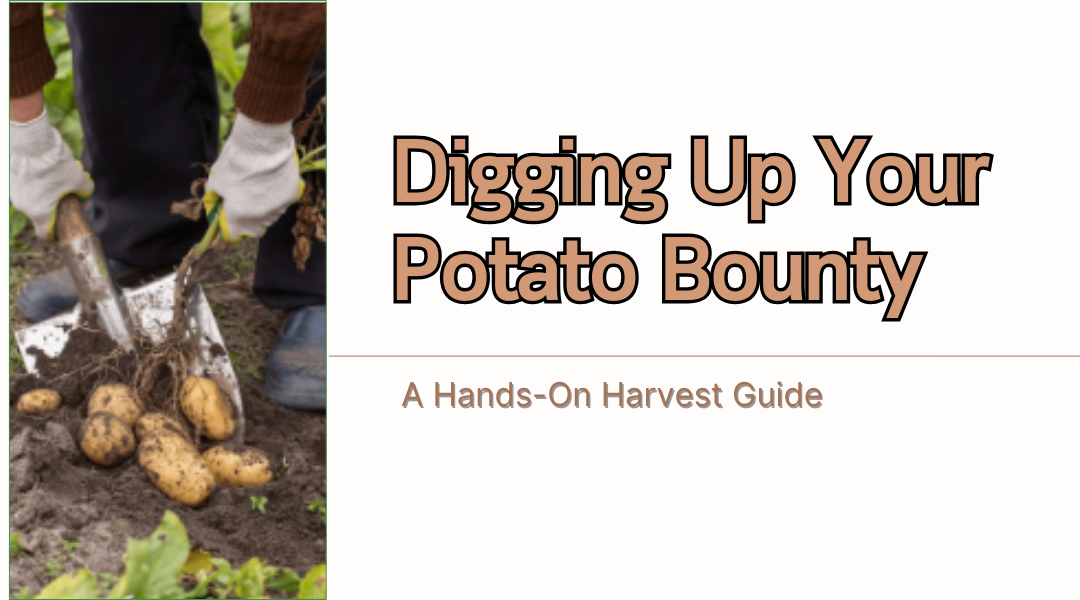
In-Ground or Raised Beds:
For potatoes planted directly in the soil, you’ll need a little more finesse. A garden fork is your best friend—slide it deep into the ground a few inches away from the plant’s base, then lift gently to avoid spearing your crop. If your soil is loose, you might even pull the whole plant up by hand (gloves help with grip and protect against rough skins).
Pro Tip: If you accidentally slice a potato (it happens to everyone), cook it within a few days—cut spuds won’t store well. And don’t skip the deep dig! Tiny “lost” potatoes left behind can sprout next year where you least expect them.
Timing Is Everything: When to Harvest
Not all potatoes are ready at the same time. The perfect harvest window depends on the variety and how you plan to use them.
New Potatoes (Early Harvest)
Want tender, thin-skinned potatoes perfect for boiling or roasting whole? Dig up “first earlies” like Rocket or Swift about 10–12 weeks after planting, usually in June or July. Look for flowers fading or buds dropping—that’s nature’s signal. Gently unearth a test plant; if the tubers are egg-sized, they’re ready. These won’t keep long, so eat them fresh.
Mid-Season Varieties
Spuds like Charlotte or Nicola take a bit longer (around 14 weeks). They’re great for salads and hold their shape when boiled. Harvest when the foliage starts to yellow but isn’t fully dead.
Maincrop for Storage
If you’re after potatoes that’ll last through winter—think Maris Piper or Desiree—wait until the leaves completely die back. Then, cut the stems to an inch above the soil and leave the tubers underground for another 10–14 days. This toughens their skins for storage.
Watch the Weather:
If heavy rain or frost is coming, dig them up immediately. Letting potatoes sit in soggy soil invites rot.
After the Dig: Handling & Storing
- Don’t Wash Them (Yet!)
Brush off excess dirt, but avoid washing until you’re ready to cook. Moisture speeds up spoilage. - Cure for Longevity
Spread your harvest in a shady, well-ventilated spot (a garage or shed works) for 1–2 weeks. This helps minor nicks heal and skins toughen. - Sort Ruthlessly
- Eat First: Small or damaged potatoes.
- Store: Unblemished, firm tubers. Keep them in breathable sacks (hessian or paper) in a cool, dark place (ideally 4–7°C/40–45°F).
Beware of Green Potatoes!
Exposure to light turns potatoes green, producing a bitter compound called solanine. If you spot green patches, cut them away before cooking—or toss the spud if it’s mostly green.
Avoid These Common Mistakes
- Skipping Crop Rotation: Planting potatoes (or tomatoes) in the same spot year after year invites disease. Switch locations every 3 years.
- Ignoring “Fruits”: If your potato plant grows green, tomato-like berries, don’t eat them—they’re toxic. (Yes, potatoes and tomatoes are cousins!)
The Joy of Homegrown Spuds
There’s nothing like the satisfaction of unearthing your own potatoes—whether you’re tossing buttery new potatoes with herbs or pulling a bag of stored maincrops from the cellar in December. With a little patience and these tips, your harvest will be plentiful, flavorful, and long-lasting.